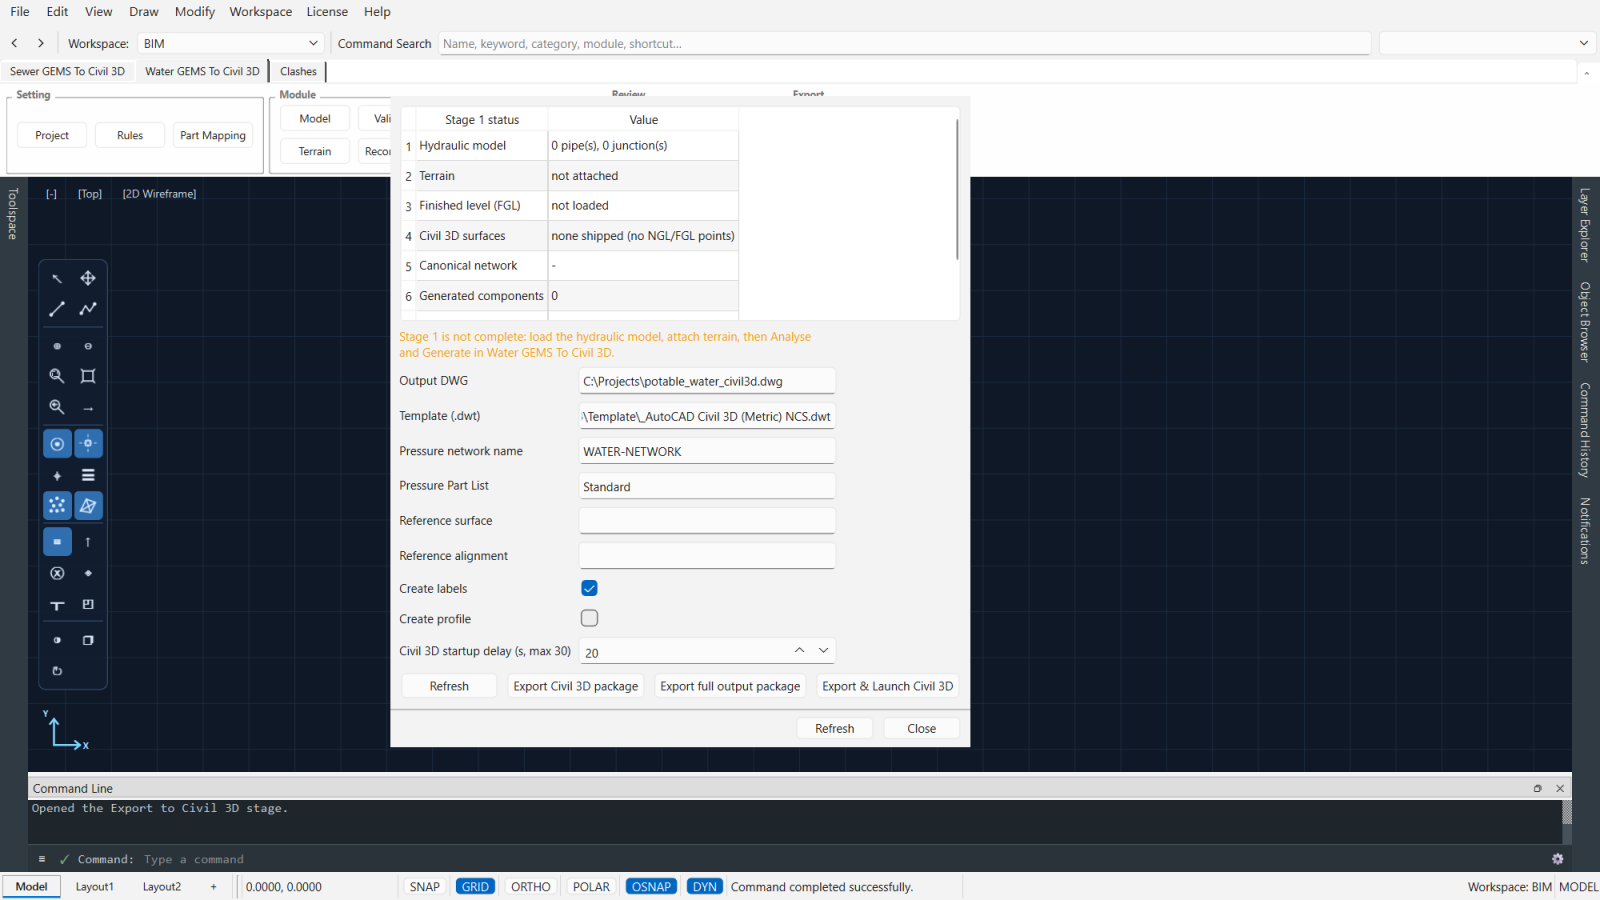
Reconstruct a WaterGEMS or EPANET hydraulic model as a native Civil 3D pressure network. You set the rules once, the module follows the terrain, places valves and fittings, validates the result and only then deploys it.
The same steps you see in the module's ribbon, in the order you use them.
Name the project, units and the model to import (WaterGEMS or EPANET).
Design rules: your standards for pipes, valves and fittings, saved with the project.
Review the imported network: pipes, junctions, tanks, pumps and valves.
Bring in the survey surface so depths and profiles follow the ground.
Check the network against the rules before anything is drawn.
Build the components: part mapping turns model elements into Civil 3D parts.
Strict validation of the generated network. Errors block the export, with a clear list; then Export to Civil 3D deploys it into your drawing.

A recorded walk-through will be added here.
| Windows | Windows 10 or 11, 64-bit |
| Civil 3D | AutoCAD Civil 3D 2024, for the Civil 3D steps |
| Your model | A WaterGEMS export or an EPANET (.inp) file |
| Licence | Free 7-day demo from the License menu, then a licence for your PC |