Step 3 · Hydraulic model
Your model, as it is
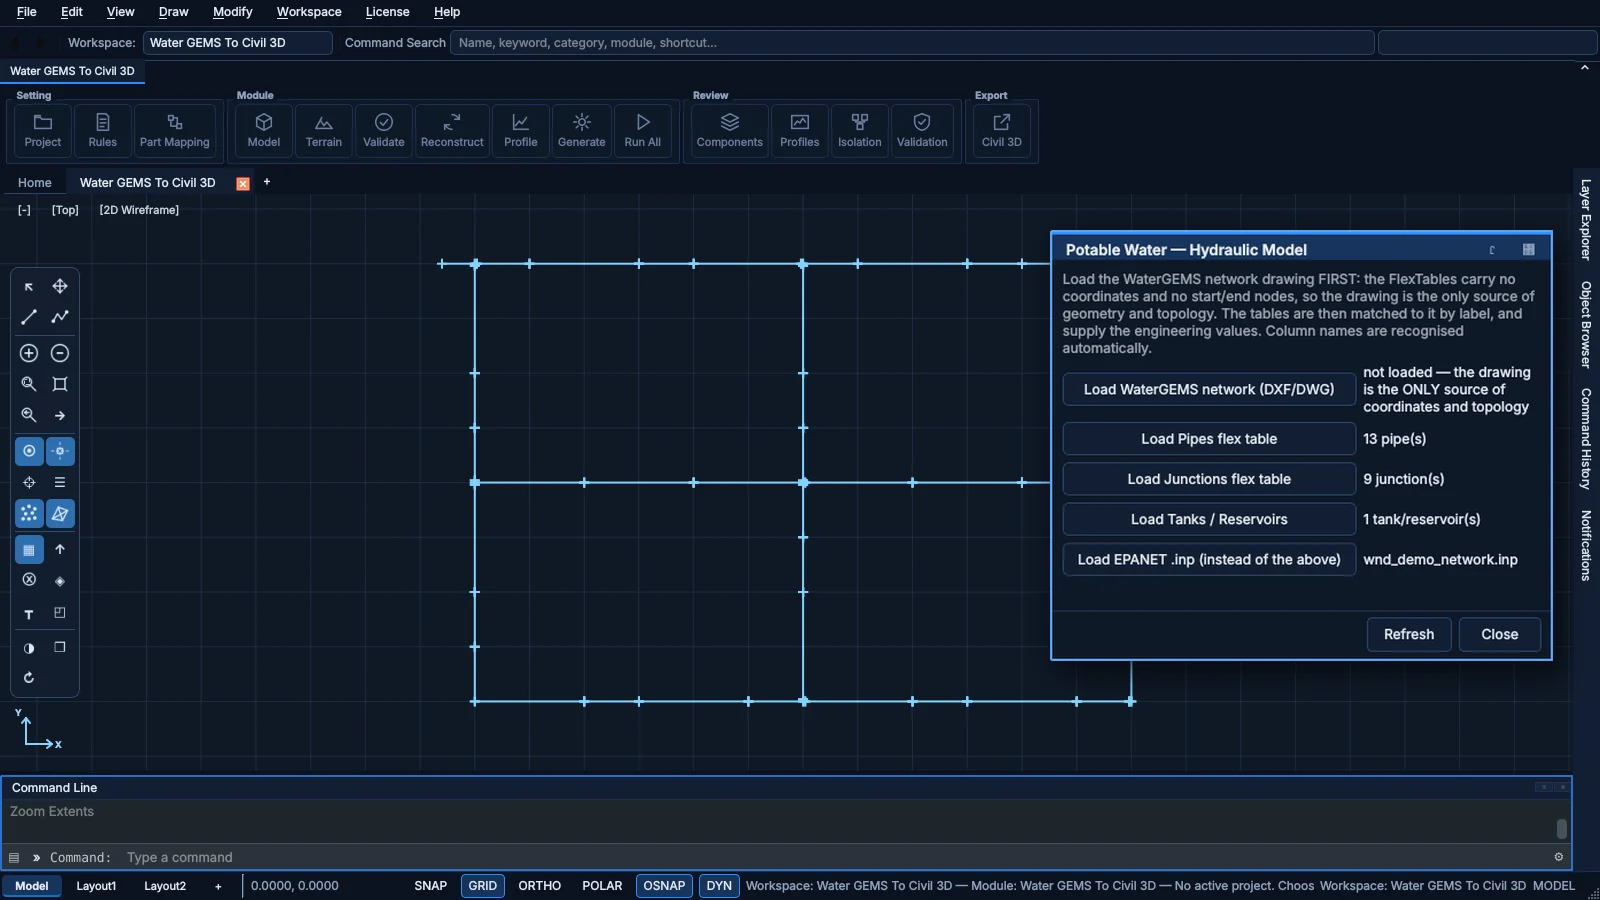
- WaterGEMS: the network drawing (DXF/DWG) for geometry, and the Pipes, Junctions and Tanks FlexTables for the engineering values.
- Or a single EPANET .inp file.
- Column names are recognised automatically.
Step 2 · Rules
Rules you can read and change
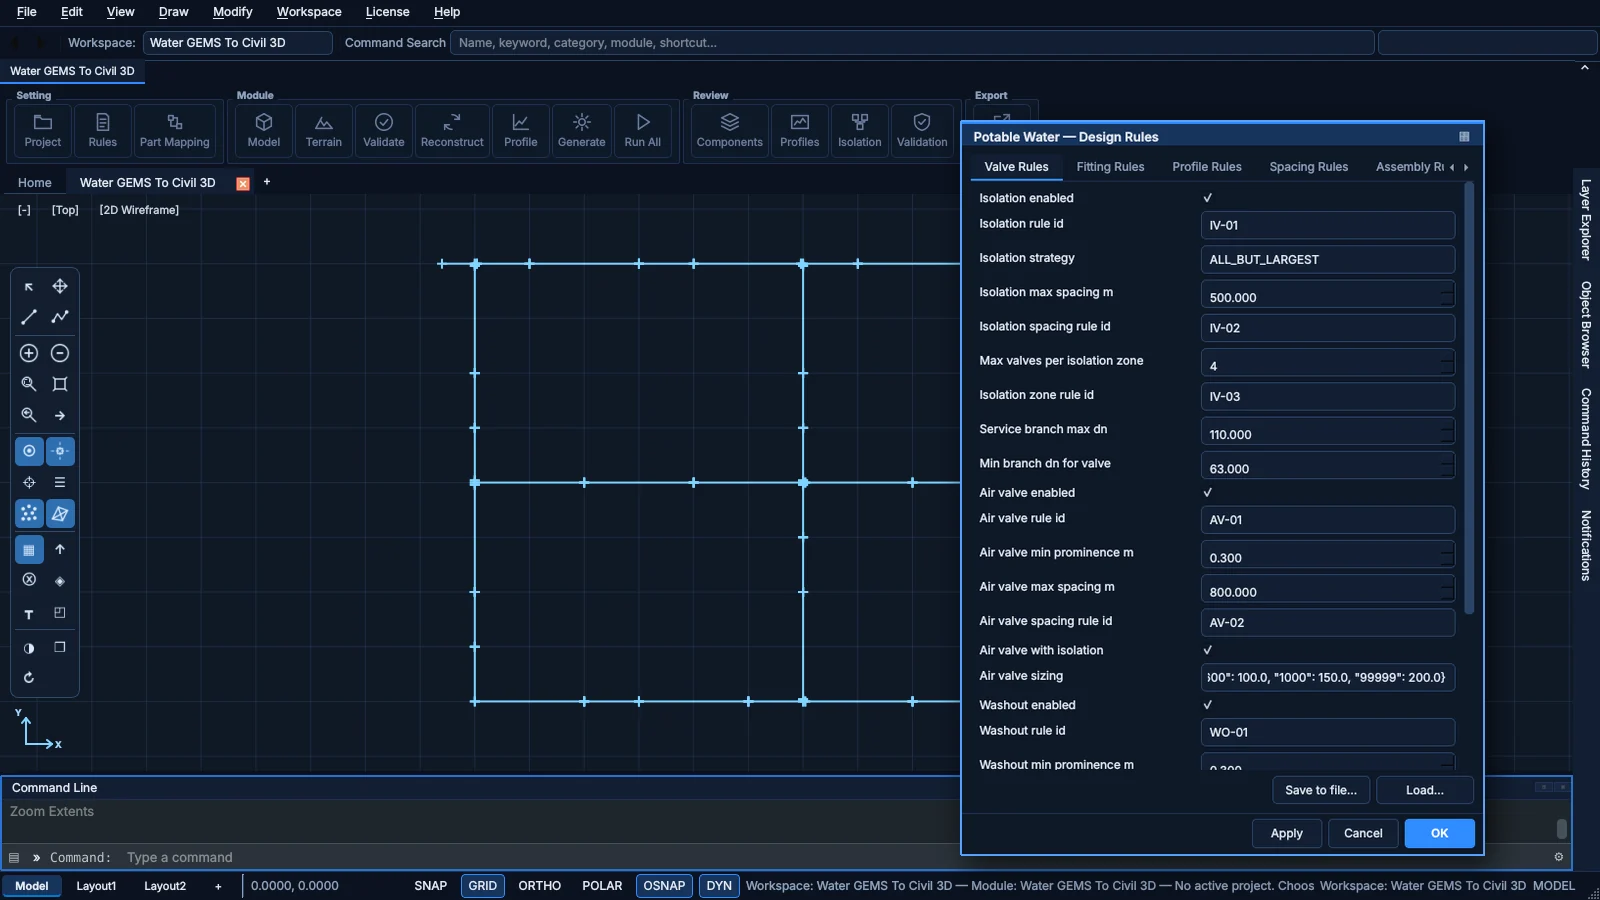
- Isolation valves: strategy, maximum spacing, valves per zone.
- Air valves at high points and washouts at low points, with their own spacing.
- Fitting, profile, assembly and Civil 3D rules, plus per-project overrides.
- Save to a file and load it on the next project.
Step 6 · Generate
Every component, with the rule that placed it
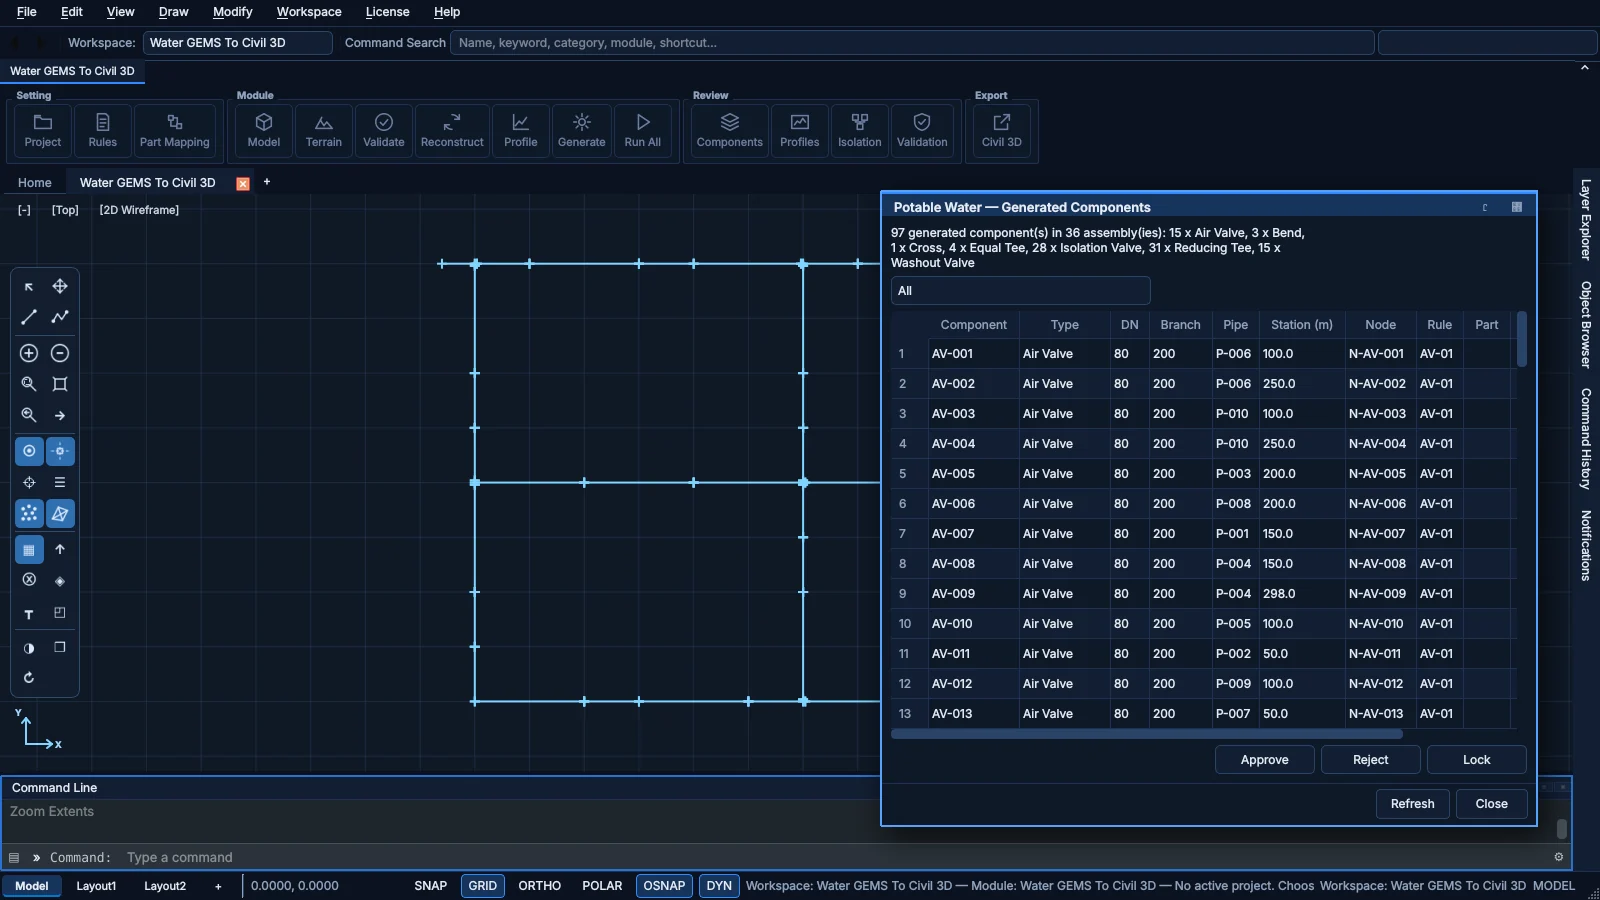
- Air valves, isolation valves, washouts, tees, reducing tees, crosses and bends.
- Each one shows its pipe, station, node and the rule that put it there.
- Approve, reject or lock components before export.
Review · Profiles
Profiles before the drawing
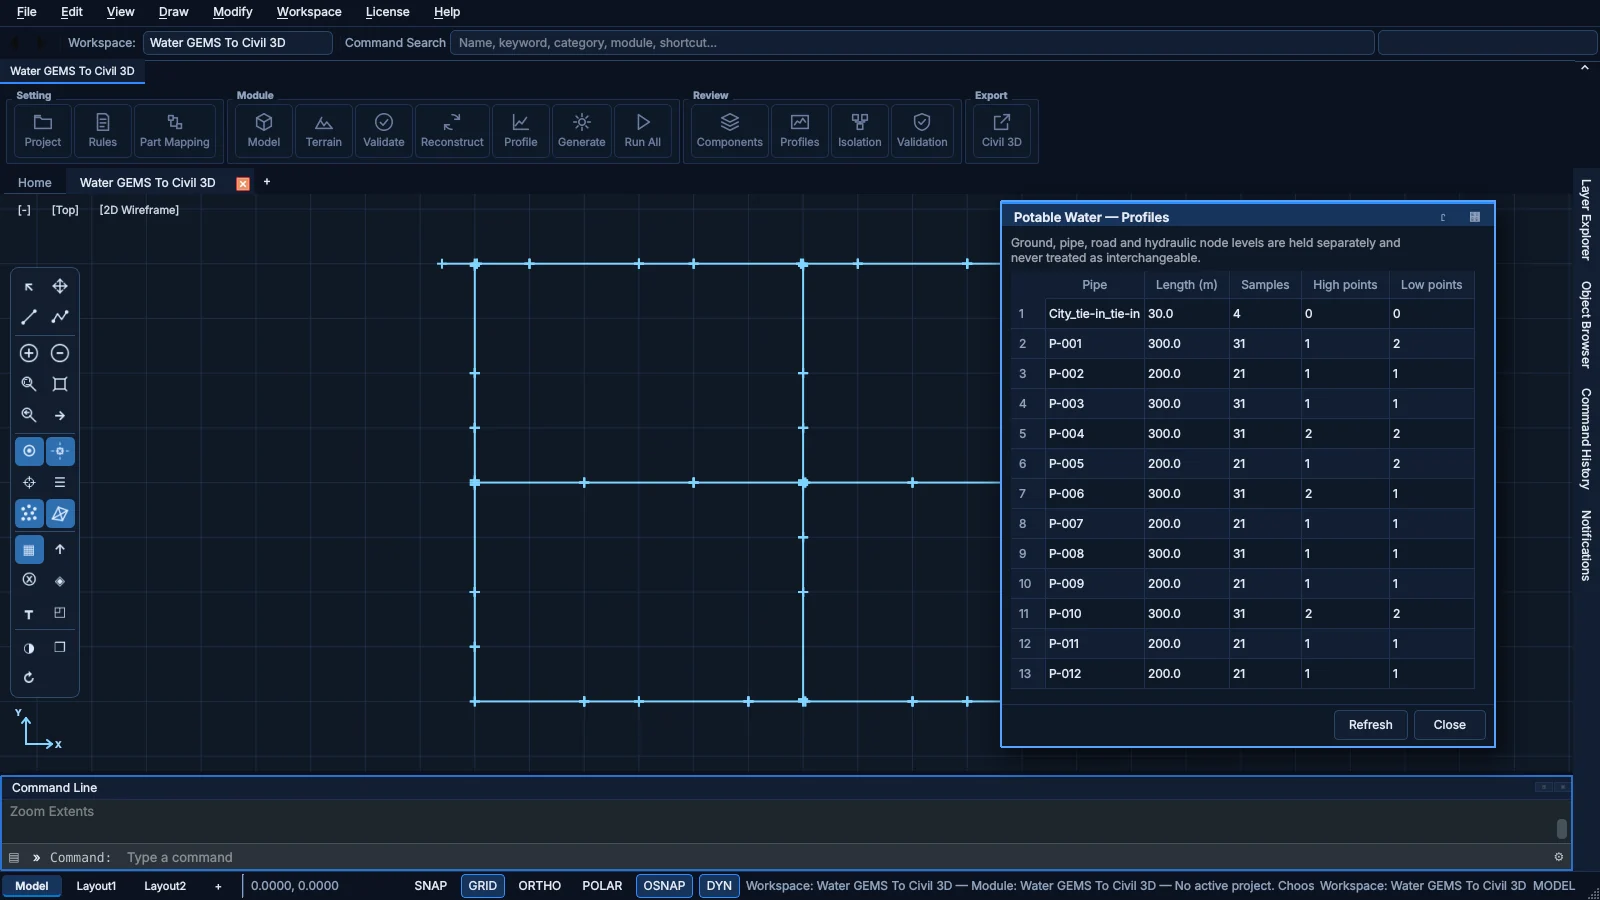
- Each pipe is sampled along the ground.
- High and low points are listed per pipe.
- Ground, pipe and hydraulic levels are kept separate and never mixed.